
Data augmentation & Torch-vision transformations

Note

IMPORTANT NOTE: This notebook requires the file luna-2.jpeg to run, you can replace this image file with an image of your choosing to get the notebook to run.

Data augmentation

Overview

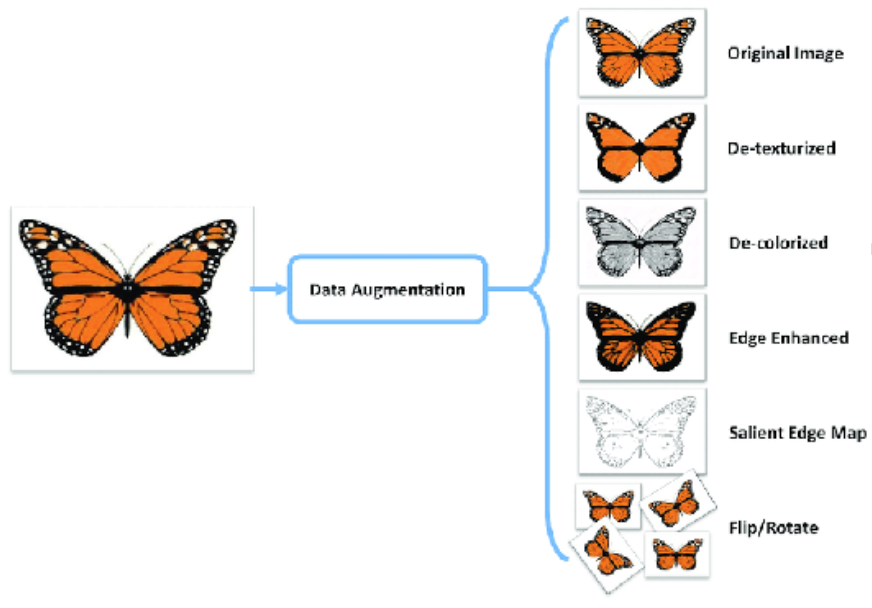
  • Data augmentation is a technique used to increase the diversity of a dataset by applying various transformations (perturbations)to the existing data.
  • It helps in preventing over-fitting and improving the generalization of machine learning models.
  • Particularly common in Computer vision (CV)
    • Transformations include rotation, flipping, scaling, cropping, translation, brightness adjustment, and adding noise.
  • Data augmentation is particularly useful in computer vision tasks where having a diverse dataset can enhance the model’s ability to recognize patterns in different conditions.
  • It is also used in natural language processing (NLP) tasks where text can be augmented through techniques like synonym replacement, word shuffling, or adding noise to the text.

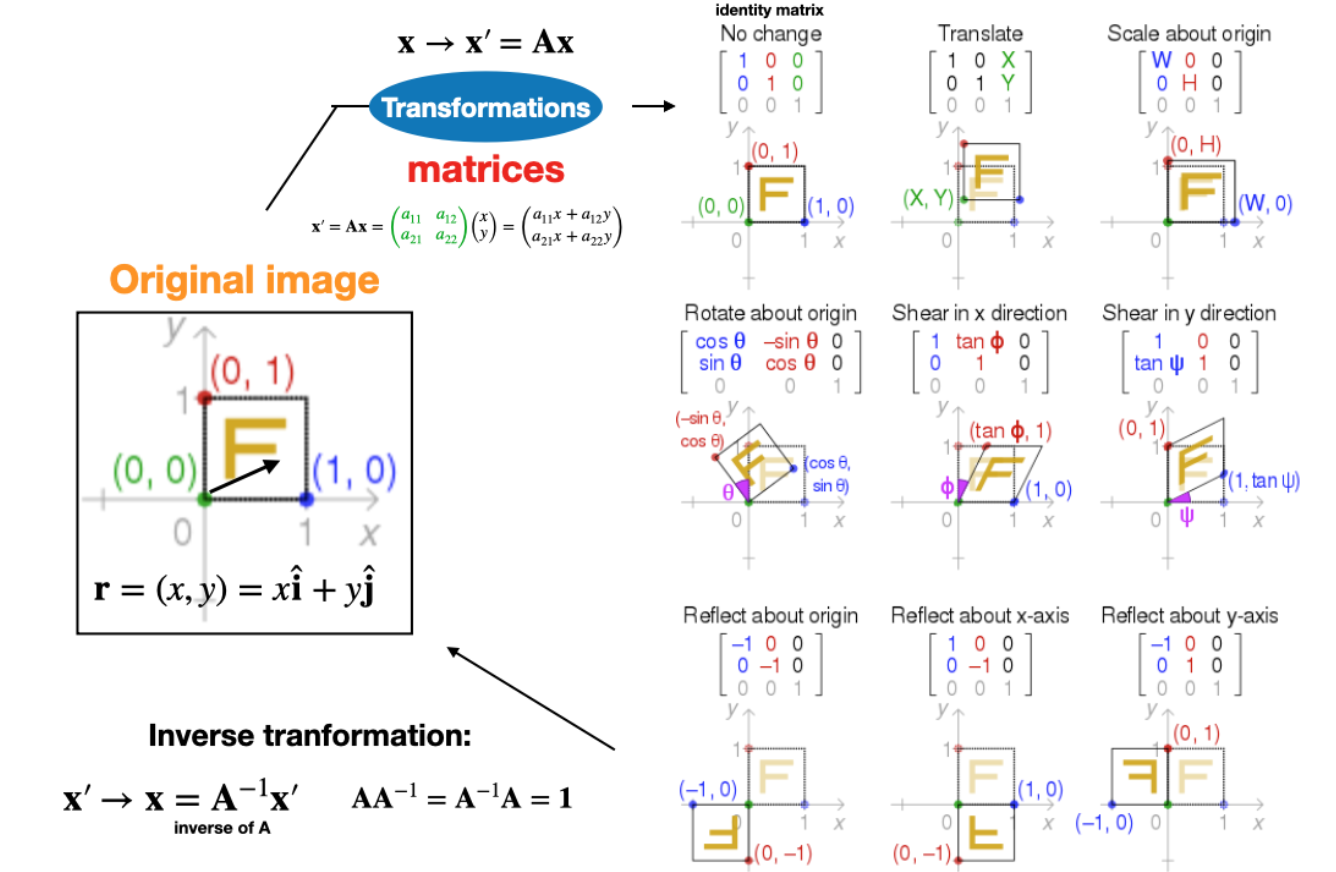
Math aside: Image transformations

Linear transformations are constructed from basic geometric actions like rotation, scaling, contraction, skewing, and projection.

Image source: https://en.wikipedia.org/wiki/Transformation_matrix

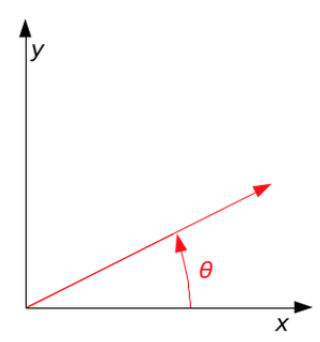
Math aside: Rotation matrix

In two dimensions, the standard rotation matrix has the following form: \[ R(\theta)=\left[\begin{array}{cc} \cos \theta & -\sin \theta \\ \sin \theta & \cos \theta \end{array}\right] . \]

This rotates column vectors by means of the following matrix multiplication, \[ \left[\begin{array}{l} x^{\prime} \\ y^{\prime} \end{array}\right]=\left[\begin{array}{cc} \cos \theta & -\sin \theta \\ \sin \theta & \cos \theta \end{array}\right]\left[\begin{array}{l} x \\ y \end{array}\right] . \]

Thus, the new coordinates \(\left(x^{\prime}, y^{\prime}\right)\) of a point \((x, y)\) after rotation are \[ \begin{aligned} & x^{\prime}=x \cos \theta-y \sin \theta \\ & y^{\prime}=x \sin \theta+y \cos \theta \end{aligned} . \]
Source: https://en.wikipedia.org/wiki/Rotation_matrix

Example

  • Increase the amount of data by adding slightly modified copies of already existing data
  • The increased amount of data has a “regularizing” effect (decreases variance –> i.e increased transferability/generality)

Question

Would data augmentation work for both regression and classification learning tasks? Why or why not?

Motivating example: Torch-vision Augmentations

TorchVision: Introduction

Overview and introduction

Overview

  • TorchVision is a part of the PyTorch library dedicated to computer vision tasks.
  • It provides datasets, models, and utilities specifically designed for vision-related tasks.
  • TorchVision includes popular datasets such as MNIST, CIFAR-10, and ImageNet, which are commonly used for training and evaluating computer vision models.
  • It offers pre-trained models like ResNet, VGG, and AlexNet, allowing users to leverage state-of-the-art architectures for their tasks.
  • TorchVision also provides image transformation functions, data loaders, and evaluation metrics tailored for computer vision applications, streamlining the development process for vision-based projects.
  • For more see: https://pytorch.org/vision/stable/index.html

Package Reference

TorchVision: Transformations

Example

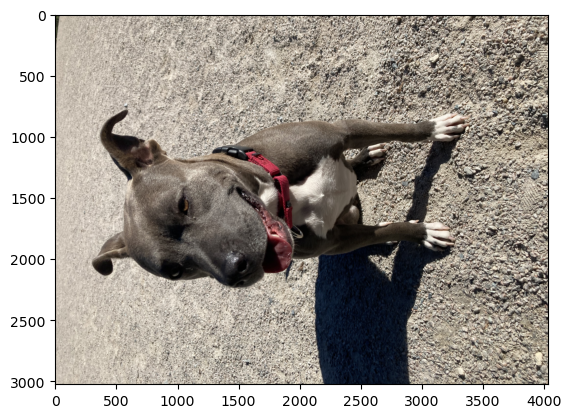
Load image

Code
import torch 
import torchvision
import matplotlib.pyplot as plt

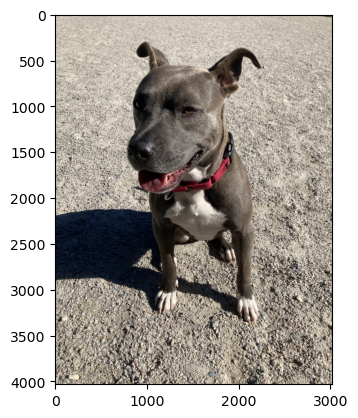
x=torchvision.io.read_image('luna-2.jpeg')
print(type(x))
print(x.dtype)
print(x.shape)
plt.imshow(x.permute(1, 2, 0))
<class 'torch.Tensor'>
torch.uint8
torch.Size([3, 3024, 4032])

Rotation

  • angle (number) – rotation angle value in degrees, counter-clockwise.
  • expand (bool, optional) – Optional expansion flag. If true, expands the output image to make it large enough to hold the entire rotated image.
    • If false or omitted, make the output image the same size as the input image. Note that the expand flag assumes rotation around the center and no translation.
Code
print("shape before:", x.shape)
x=torchvision.transforms.functional.rotate(x,-90,expand=True)
print("shape after:", x.shape)
plt.imshow(x.permute(1, 2, 0))
shape before: torch.Size([3, 3024, 4032])
shape after: torch.Size([3, 4032, 3024])

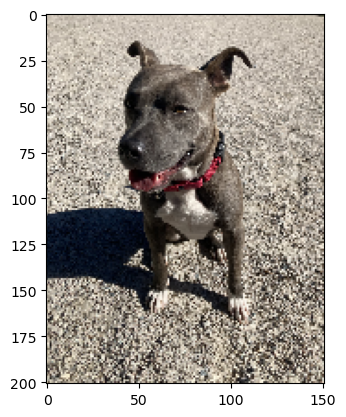
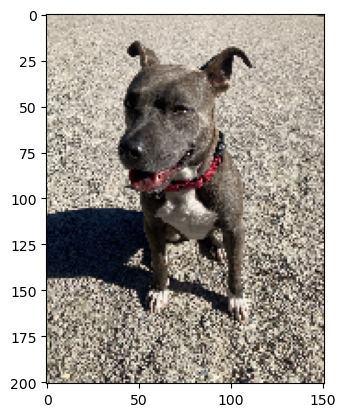
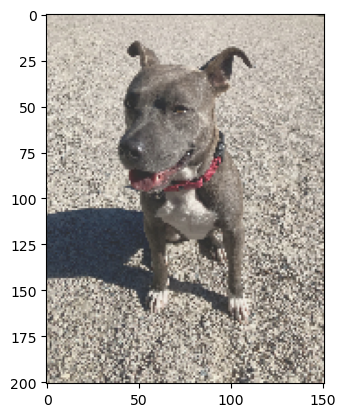
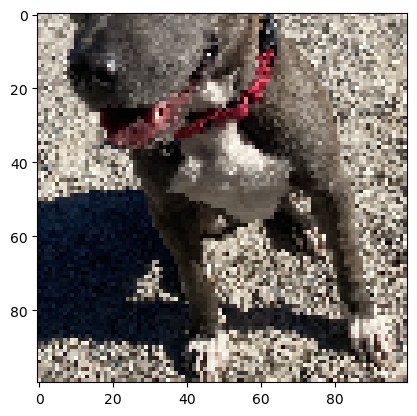
Change resolution

  • Resize the input image to the given size. If the image is torch Tensor, it is expected to have […, H, W] shape, where … means an arbitrary number of leading dimensions
Code
# NUMBER BETWEEN 0 AND 1 TO DOWNSAMPLE IMAGE BY
scale_factor=0.05 

# NEW HEIGHT AND WIDTH
H=int(scale_factor*x.shape[-2])
W=int(scale_factor*x.shape[-1])

# RESIZE
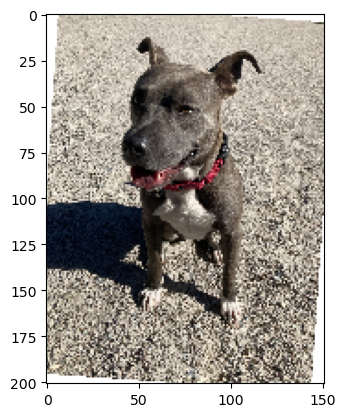
resize=torchvision.transforms.Resize((H,W))

#SHOW OUTPUT
print("shape before:", x.shape)
x=resize(x)
print("shape after:", x.shape)
plt.imshow(x.permute(1, 2, 0))
shape before: torch.Size([3, 4032, 3024])
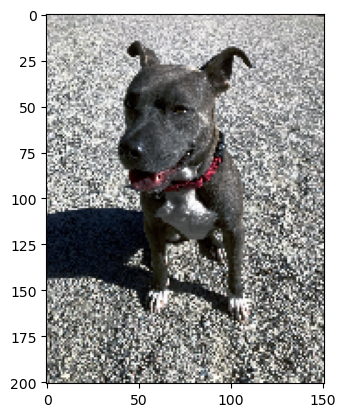
shape after: torch.Size([3, 201, 151])

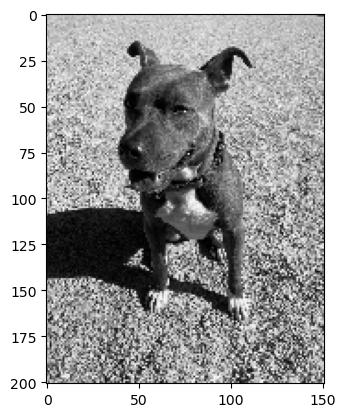
Gray-scale conversion

Code
# Grayscale version of the input.
# If num_output_channels == 1 : returned image is single channel
# If num_output_channels == 3 : returned image is 3 channel with r == g == b
transform=torchvision.transforms.Grayscale(3)
x1=transform(x)
print("shape before:", x.shape)
plt.imshow(x1.permute(1, 2, 0))
print("shape after:", x1.shape)
shape before: torch.Size([3, 201, 151])
shape after: torch.Size([3, 201, 151])

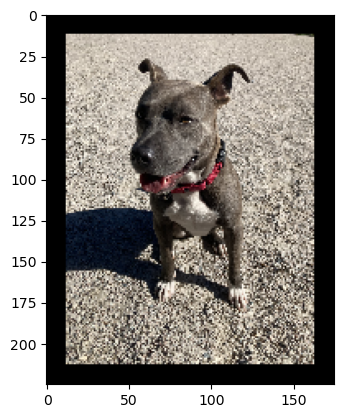
Black Padding

  • Padding on each border. If a single int is provided this is used to pad all borders.
  • If sequence of length 2 is provided this is the padding on left/right and top/bottom respectively.
  • Fill (number or tuple): Pixel fill value for constant fill. Default is 0. If a tuple of length 3, it is used to fill R, G, B channels respectively.
Code
#INSERT CODE TO GENERATE THE OUTPUT SHOWN BELOW
transform=torchvision.transforms.Pad(12, fill=0, padding_mode='constant')
x1=transform(x)
print("original",x.shape)
print("transformed",x1.shape)
plt.imshow(x1.permute(1, 2, 0))
plt.show()
original torch.Size([3, 201, 151])
transformed torch.Size([3, 225, 175])

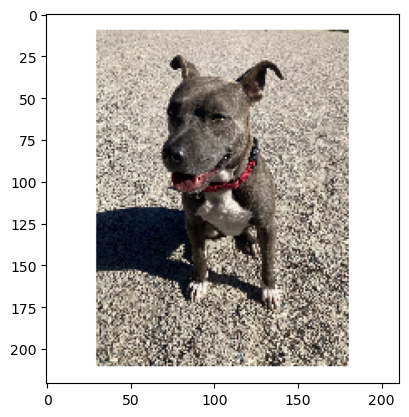
White Padding

Code
#INSERT CODE TO GENERATE THE OUTPUT SHOWN BELOW
padH=20
padW=60
print("padH=",padH,"padW=",padW)
transform=torchvision.transforms.Pad((int(padW/2),int(padH/2)), fill=255, padding_mode='constant')
x1=transform(x)
print("original",x.shape)
print("transformed",x1.shape)
plt.imshow(x1.permute(1, 2, 0))
plt.show()
padH= 20 padW= 60
original torch.Size([3, 201, 151])
transformed torch.Size([3, 221, 211])

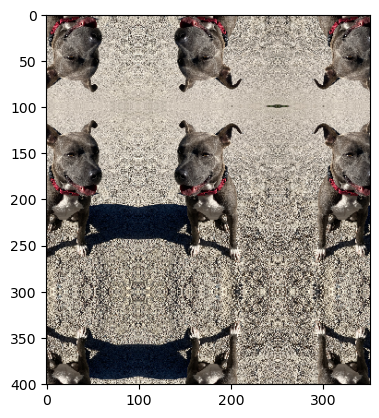
Periodic padding

Aside: In mathematical modeling, e.g. differential equations solvers and other simulation methodologies, periodic boundary conditions wrap a system’s boundary, connecting opposite edges to simulate an infinite space, commonly used in simulations and calculations.

Code
#INSERT CODE TO GENERATE THE OUTPUT SHOWN BELOW
transform=torchvision.transforms.Pad(100, fill=255, padding_mode='symmetric')
x1=transform(x)
print("original",x.shape)
print("transformed",x1.shape)
plt.imshow(x1.permute(1, 2, 0))
plt.show()
original torch.Size([3, 201, 151])
transformed torch.Size([3, 401, 351])

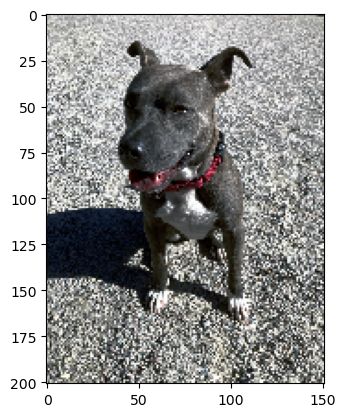
Jitter

  • Randomly change the brightness, contrast, saturation and hue of an image.
Code
#INSERT CODE TO GENERATE THE OUTPUT SHOWN BELOW
transform=torchvision.transforms.ColorJitter(brightness=0.3, contrast=0.6, saturation=0.2, hue=0)
x1=transform(x)
print("original",x.shape)
print("transformed",x1.shape)
plt.imshow(x1.permute(1, 2, 0))
original torch.Size([3, 201, 151])
transformed torch.Size([3, 201, 151])

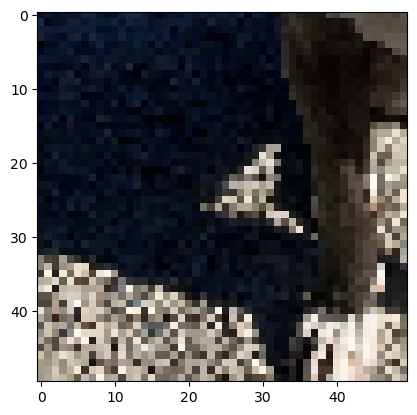
Random Crop-1

  • Crop the given image at a random location.
  • Desired output size of the crop. If size is an int instead of sequence like (h, w), a square crop (size, size) is made.
Code
#INSERT CODE TO GENERATE THE OUTPUT SHOWN BELOW (NOTE OUTPUT SILL BE DIFFERENT DUE TO RANDOMNESS)
transform=torchvision.transforms.RandomCrop(50, padding=None, pad_if_needed=False, fill=0, padding_mode='constant')
x1=transform(x)
print("original",x.shape)
print("transformed",x1.shape)
plt.imshow(x1.permute(1, 2, 0)); plt.show()
original torch.Size([3, 201, 151])
transformed torch.Size([3, 50, 50])

Random Crop-2

Code
#INSERT CODE TO GENERATE THE OUTPUT SHOWN BELOW (NOTE OUTPUT SILL BE DIFFERENT DUE TO RANDOMNESS)
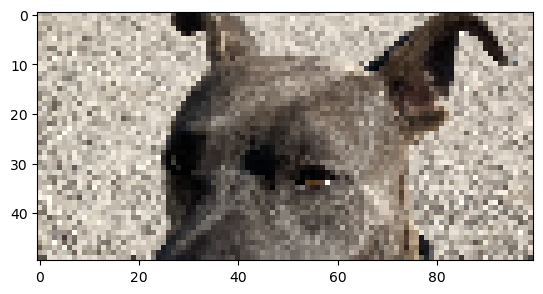
transform=torchvision.transforms.RandomCrop((50,100), padding=None, pad_if_needed=False, fill=0, padding_mode='constant')
x1=transform(x)
print("original",x.shape)
print("transformed",x1.shape)
plt.imshow(x1.permute(1, 2, 0)); plt.show()
original torch.Size([3, 201, 151])
transformed torch.Size([3, 50, 100])

Random Crop with padding

Code
#INSERT CODE TO GENERATE THE OUTPUT SHOWN BELOW (NOTE OUTPUT SILL BE DIFFERENT DUE TO RANDOMNESS)(CROP+PAD)
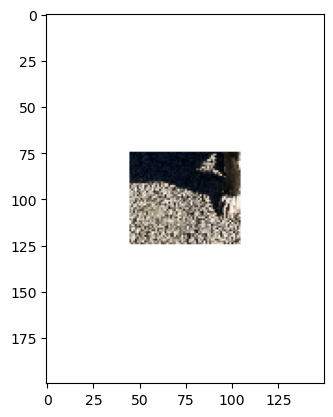
transform=torchvision.transforms.RandomCrop((50,60), padding=None, pad_if_needed=False, fill=0, padding_mode='constant')
x1=transform(x)
padH=x.shape[-2]-x1.shape[-2]
padW=x.shape[-1]-x1.shape[-1]
print(x.shape,x1.shape,padH,padW,x.shape[-2],x1.shape[-2])
transform=torchvision.transforms.Pad((int(padW/2),int(padH/2)), fill=255, padding_mode='constant')
x1=transform(x1)
print(x1.shape)
plt.imshow(x1.permute(1, 2, 0)); plt.show()
torch.Size([3, 201, 151]) torch.Size([3, 50, 60]) 151 91 201 50
torch.Size([3, 200, 150])

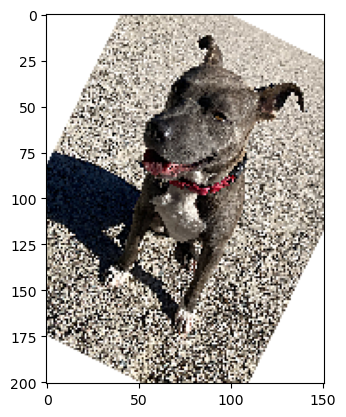
Random rotation

  • Rotate the image by angle. If the image is torch Tensor

  • degrees (sequence or number) – Range of degrees to select from. If degrees is a number instead of sequence like (min, max), the range of degrees will be (-degrees, +degrees).

  • expand (bool, optional) – Optional expansion flag. If true, expands the output to make it large enough to hold the entire rotated image.

  • If false or omitted, make the output image the same size as the input image. Note that the expand flag assumes rotation around the center and no translation.

Code
#INSERT CODE TO GENERATE THE OUTPUT SHOWN BELOW (NOTE OUTPUT SILL BE DIFFERENT DUE TO RANDOMNESS)
transform=torchvision.transforms.RandomRotation((-50,50), expand=False,fill=255)
x1=transform(x)
print("original:",x.shape)
print("transformed:",x1.shape)
plt.imshow(x1.permute(1, 2, 0)); plt.show()
original: torch.Size([3, 201, 151])
transformed: torch.Size([3, 201, 151])

Normalization

  • Normalize a tensor image with mean and standard deviation.
  • This transform does not support PIL Image. Given mean: (mean[1],…,mean[n]) and std: (std[1],..,std[n]) for n channels,
  • This transform will normalize each channel of the input torch.
  • *Tensor i.e., output[channel] = (input[channel] - mean[channel]) / std[channel]
Code
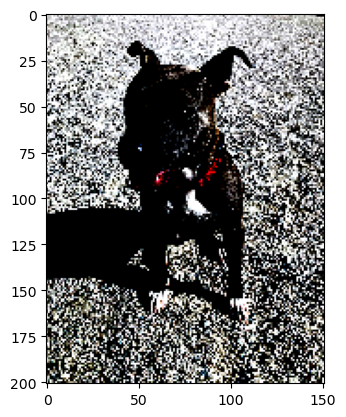
mean=torch.mean(x.float(), dim = [1,2])
std=torch.std(x.float(), dim = [1,2])

print(mean,std)
transform=torchvision.transforms.Normalize(mean,std)
x1=transform(x.float())
print("original:",x.shape)
print("transformed:",x1.shape)
plt.imshow(x1.permute(1, 2, 0)); plt.show()
tensor([142.9925, 134.8592, 125.6389]) tensor([72.4379, 70.4008, 64.9320])
original: torch.Size([3, 201, 151])
transformed: torch.Size([3, 201, 151])

Conversion from torch tensor to PIL

  • PIL is the Python Imaging Library which provides the python interpreter with image editing capabilities.

  • Convert a tensor or an ndarray to PIL Image. This transform does not support torchscript.

  • Converts a torch.*Tensor of shape C x H x W or a numpy ndarray of shape H x W x C to a PIL Image while preserving the value range.

Code
transform=torchvision.transforms.ToPILImage()
print(type(x))
x1=transform(x)
print(type(x1))
x1.show()
<class 'torch.Tensor'>
<class 'PIL.Image.Image'>

Sequential Transformations

  • We can do also do multiple transformations at once in a row
  • In order to script the transformations, please use torch.nn.Sequential instead of Compose.
Code
transforms = torch.nn.Sequential(
    torchvision.transforms.RandomRotation((-50,50), expand=False,fill=255),
    torchvision.transforms.RandomCrop((100,100), padding=None, pad_if_needed=False, fill=0, padding_mode='constant')
)

#Scripting a function or nn.Module will inspect the source code, compile it as TorchScript code using the TorchScript compiler
scripted_transforms = torch.jit.script(transforms)

x1=scripted_transforms(x)
print("original:",x.shape)
print("transformed:",x1.shape)
plt.imshow(x1.permute(1, 2, 0)); plt.show()
original: torch.Size([3, 201, 151])
transformed: torch.Size([3, 100, 100])

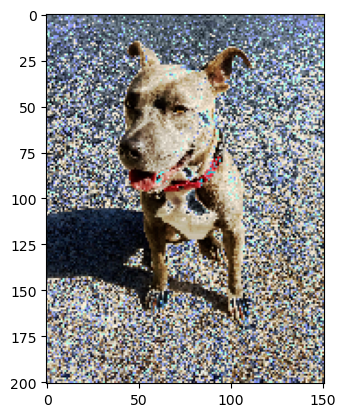
Sequential Transformations

  • Use the code above as a starting point. Add code to do the following transformations
    • RandomAdjustSharpness
    • RandomAutocontrast
    • RandomInvert
    • RandomRotation
Code
#INSERT CODE TO GENERATE THE OUTPUT SHOWN BELOW (NOTE OUTPUT SILL BE DIFFERENT DUE TO RANDOMNESS)
transforms = torch.nn.Sequential(
    torchvision.transforms.RandomAdjustSharpness(2.,p=1.),
    torchvision.transforms.RandomAutocontrast(p=1.),
    torchvision.transforms.RandomInvert(),
    torchvision.transforms.RandomRotation((-50,50), expand=False,fill=255),
)

#Scripting a function or nn.Module will inspect the source code, compile it as TorchScript code using the TorchScript compiler
scripted_transforms = torch.jit.script(transforms)

x1=scripted_transforms(x)
print("original:",x.shape)
print("transformed:",x1.shape)
plt.imshow(x1.permute(1, 2, 0)); plt.show()
original: torch.Size([3, 201, 151])
transformed: torch.Size([3, 201, 151])

TorchVision: Automatic augmentation

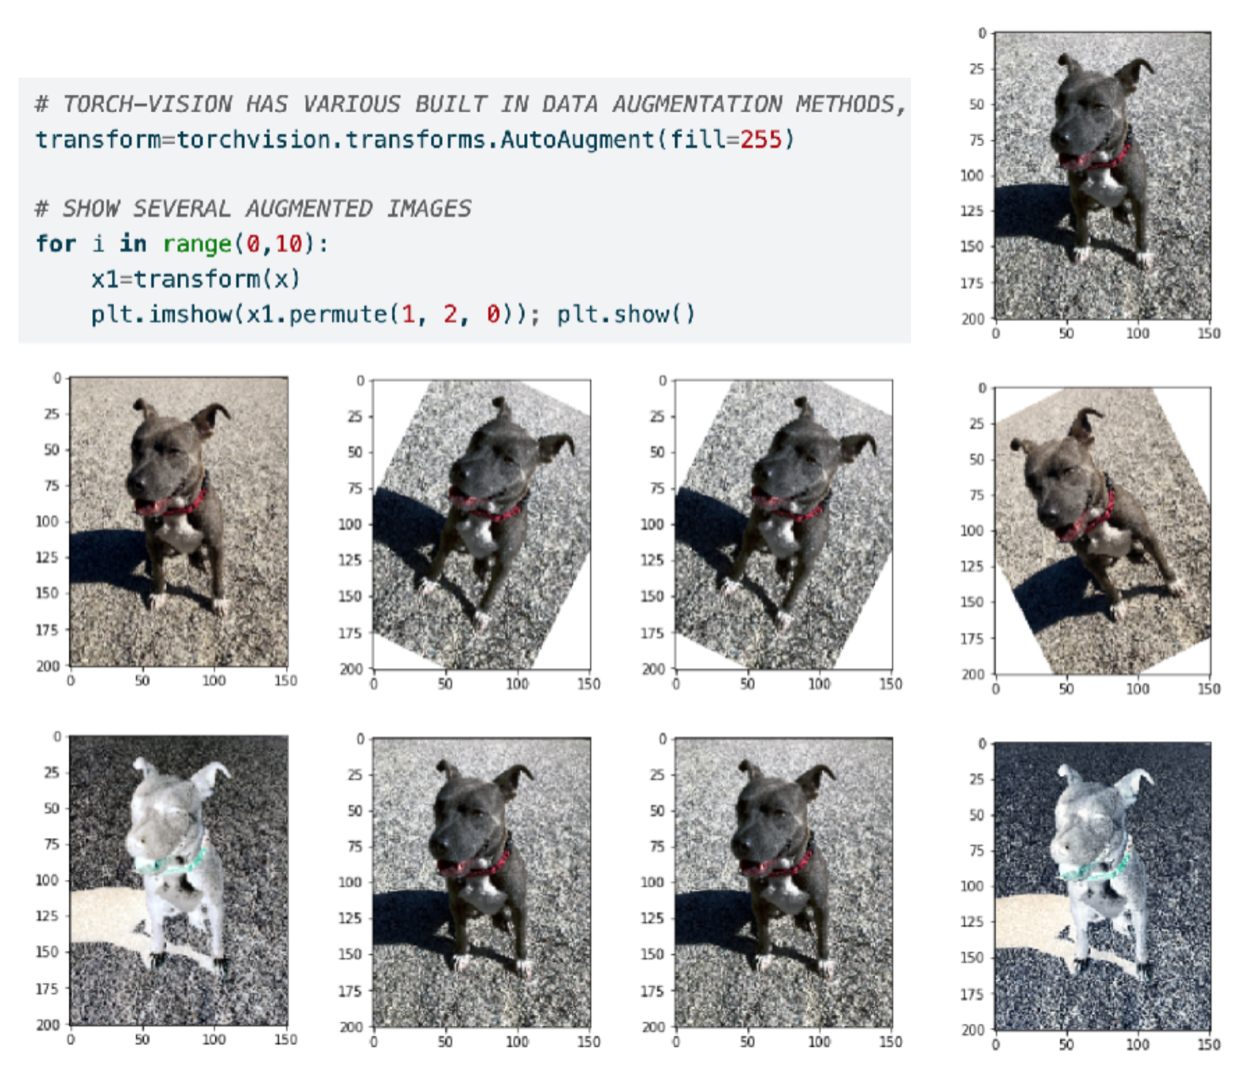
Automatic Augmentation Transforms

  • Though the data augmentation policies are directly linked to their trained dataset, empirical studies show that ImageNet policies provide significant improvements when applied to other datasets.

  • In TorchVision we implemented 3 policies learned on the following datasets: ImageNet, CIFAR10 and SVHN.

  • The new transform can be used standalone or mixed-and-matched with existing transforms:

Example

Code
# TORCH-VISION HAS VARIOUS BUILT IN DATA AUGMENTATION METHODS, THE FOLLOWING IS AN EXAMPLE OF ONE
transform=torchvision.transforms.AutoAugment(fill=255)
# transform=torchvision.transforms.RandAugment(num_ops=1)

# SHOW SEVERAL AUGMENTED IMAGES 
for i in range(0,5):
    x1=transform(x)
    plt.imshow(x1.permute(1, 2, 0)); plt.show()
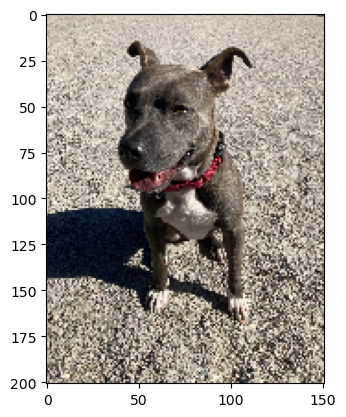
TorchVision: Utilities

Utility functions

Torch vision also has several useful utility functions including the following

  • draw_bounding_boxes
  • draw_segmentation_masks
  • draw_keypoints
  • flow_to_image
  • make_grid
  • save_image

Example: Bounding box

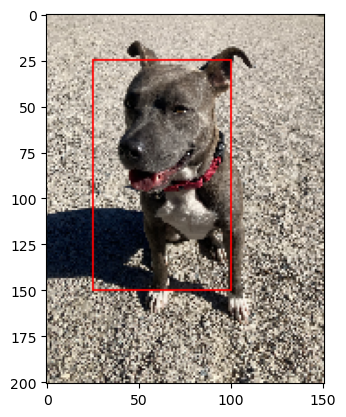
  • torchvision.utils.draw_bounding_boxes
    • image (Tensor) – Tensor of shape (C x H x W) and dtype uint8.
    • boxes (Tensor) – Tensor of size (N, 4) containing bounding boxes in (xmin, ymin, xmax, ymax) format. Note that the boxes are absolute coordinates with respect to the image.
      • In other words: 0 <= xmin < xmax < W and 0 <= ymin < ymax < H.
  • labels (List[str]) – List containing the labels of bounding boxes.
Code

#INSERT CODE TO GENERATE THE OUTPUT SHOWN BELOW (use torchvision.utils.draw_bounding_boxes)
x1=torchvision.utils.draw_bounding_boxes(x,torch.tensor([[25,25,100,150]]),colors=['red'])
plt.imshow(x1.permute(1, 2, 0)); plt.show()